紀錄 Zabbix Agent 設定成為 Active 或 Passive 模式及配置腳本,方便部屬時可以短時間安裝大量主機。
Agent Passive Mode 被動模式
被動模式下Agent 設定只需修改一個參數值,先編輯 Agent 設定檔。
vi /etc/zabbix/zabbix_agentd.conf修改設定檔Server=192.168.1.100此段落,如果有需要修改Port 請額外新增參數。
### Option: Server
#       List of comma delimited IP addresses, optionally in CIDR notation, or DNS names of Zabbix servers and Zabbix proxies.
#       Incoming connections will be accepted only from the hosts listed here.
#       If IPv6 support is enabled then '127.0.0.1', '::127.0.0.1', '::ffff:127.0.0.1' are treated equally
#       and '::/0' will allow any IPv4 or IPv6 address.
#       '0.0.0.0/0' can be used to allow any IPv4 address.
#       Example: Server=127.0.0.1,192.168.1.0/24,::1,2001:db8::/32,zabbix.example.com
#
# Mandatory: yes, if StartAgents is not explicitly set to 0
# Default:
# Server=

Server=192.168.1.100         #把192.168.1.100修改成你自己的Zabbix主機IP

### Option: ListenPort
#       Agent will listen on this port for connections from the server.
#
# 如果需要修改服務Port,請另外新增一行ListenPort=10050並填入你的Port。
# Mandatory: no
# Range: 1024-32767
# Default:
# ListenPort=10050
Agent Active Mode 主動模式
主動模式使用指令編輯設定檔。
vi /etc/zabbix/zabbix_agentd.conf主動模式要修改的地方有兩個 ServerActive、Hostname。
##### Active checks related

### Option: ServerActive
#       List of comma delimited IP:port (or DNS name:port) pairs of Zabbix servers and Zabbix proxies for active checks.
#       If port is not specified, default port is used.
#       IPv6 addresses must be enclosed in square brackets if port for that host is specified.
#       If port is not specified, square brackets for IPv6 addresses are optional.
#       If this parameter is not specified, active checks are disabled.
#       Example: ServerActive=127.0.0.1:20051,zabbix.domain,[::1]:30051,::1,[12fc::1]
#
# Mandatory: no
# Default:
# ServerActive=

# 填入主機的IP:Port 預設 Port 為 10051
ServerActive=192.168.1.100:10051

### Option: Hostname
#       Unique, case sensitive hostname.
#       Required for active checks and must match hostname as configured on the server.
#       Value is acquired from HostnameItem if undefined.
#
# Mandatory: no
# Default:
# Hostname=

#如果需要填入名稱請填入下方=號之後,環境針對主機名稱已經規定不重複的主機名稱,此處建議直接在行首直接註解整行吃原始主機名稱。
Hostname=LoadBalance
Zabbix 主機端配置
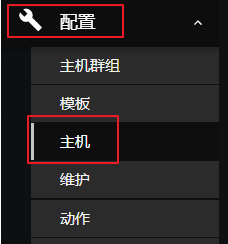
登入主機後點選配置 >> 主機。
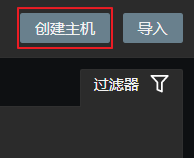
點選右上角創建主機。
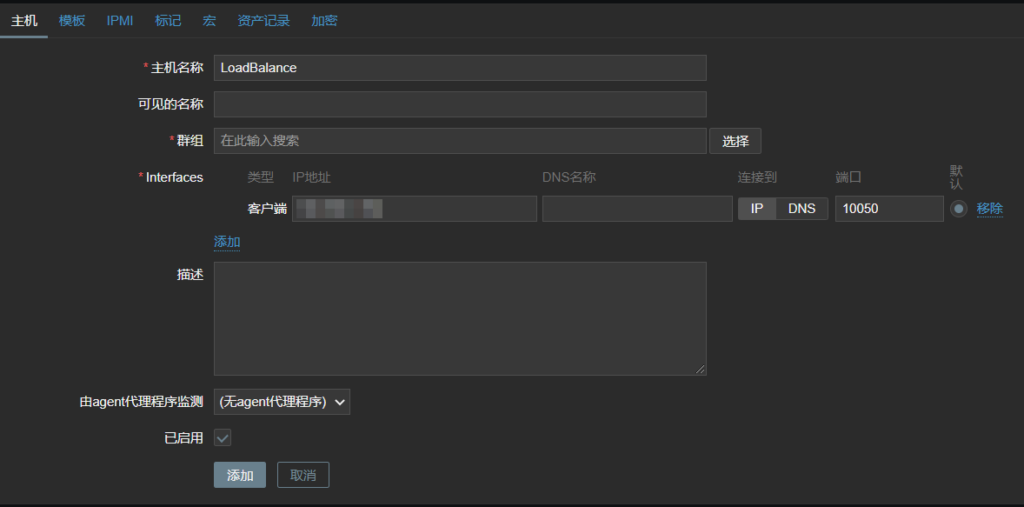
填入主機名稱記得要跟agent設定檔案中Hostname 一致,如果註解掉就設定主機的hostname,客戶端填入監控主機IP。
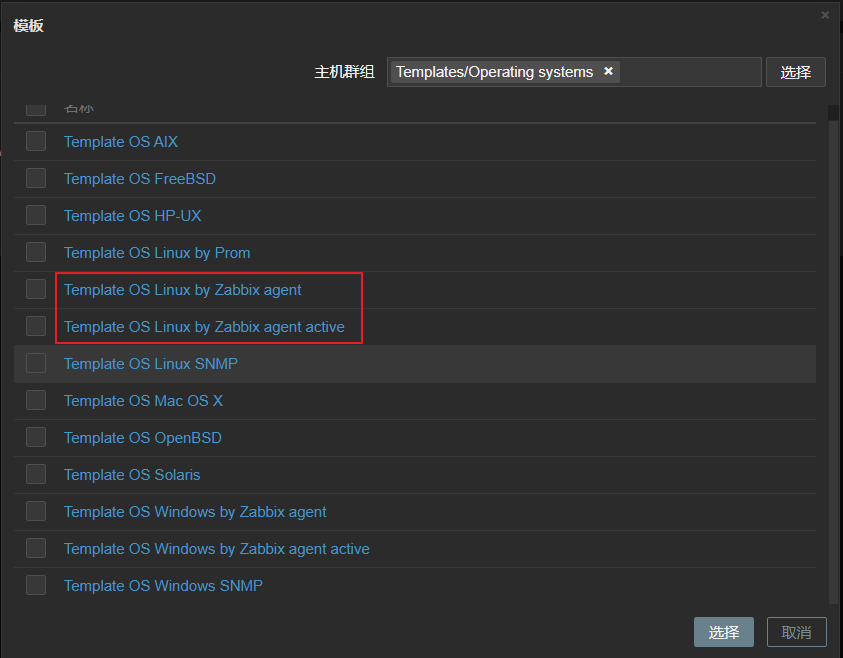
接下來就是要套用監控模板,選擇模板後按下選擇。
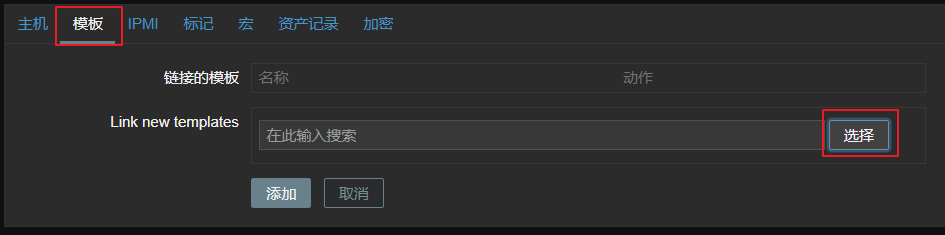
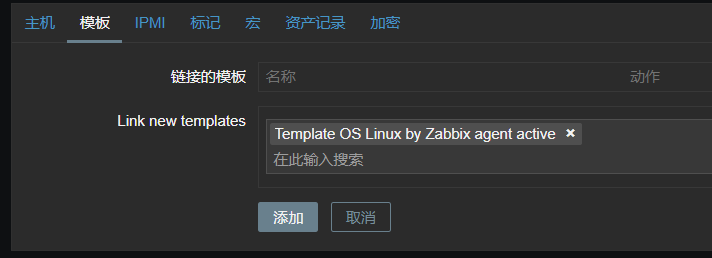
依照Agent 總類選擇套用哪一種模板,以Linux OS 作為監控主機的話,Agent 被動模式選上紅框中上面的選項,Agent 主動模式選擇紅框內下面的選項,勾選後按下選擇。
按下添加就完成所有的設定了。
接下來只要去 監測 > 主機 > 該監控目標中看最新數據有數據進來就是一切正常。
Linux Agent 安裝腳本化
先安裝Agent 指令如下
#CentOS 7
yum install https://repo.zabbix.com/zabbix/4.4/rhel/8/x86_64/zabbix-release-4.4-1.el8.noarch.rpm -y
yum install zabbix-agent -y


#CentOS 8
dnf install https://repo.zabbix.com/zabbix/4.4/rhel/8/x86_64/zabbix-release-4.4-1.el8.noarch.rpm -y
dnf install zabbix-agent -y
修改監看主機參數請把<主機IP> 整個修改成自己的IP,例如192.168.1.100。
#修改參數檔案
sed -i "s/^Hostname=Zabbix server$/#Hostname=Zabbix server/g" /etc/zabbix/zabbix_agentd.conf
sed -i "s/^ServerActive=.*/ServerActive=<主機IP>:10051/g" /etc/zabbix/zabbix_agentd.conf
sed -i "s/^Server=.*/Server=<主機IP>/g" /etc/zabbix/zabbix_agentd.conf

#修改參數範例
#請勿直接套用#請勿直接套用#請勿直接套用#請勿直接套用
sed -i "s/^Hostname=Zabbix server$/#Hostname=Zabbix server/g" /etc/zabbix/zabbix_agentd.conf
sed -i "s/^ServerActive=.*/ServerActive=192.168.1.100:10051/g" /etc/zabbix/zabbix_agentd.conf
sed -i "s/^Server=.*/Server=192.168.1.100/g" /etc/zabbix/zabbix_agentd.conf

#啟動Agent
systemctl start zabbix-agent
#開機時啟動
systemctl enable zabbix-agent
#重新啟動Agent
systemctl restart zabbix-agent
如果需要部屬被動式Zabbix Agent 請記得調整防火牆設定。
#開通防火牆
firewall-cmd --permanent --add-port=10050/tcp
#重啟防火牆
firewall-cmd --reload